Updating Tab Internationalization
In this chapter, you will learn about tabs and internationalization in Mint.
Tabs
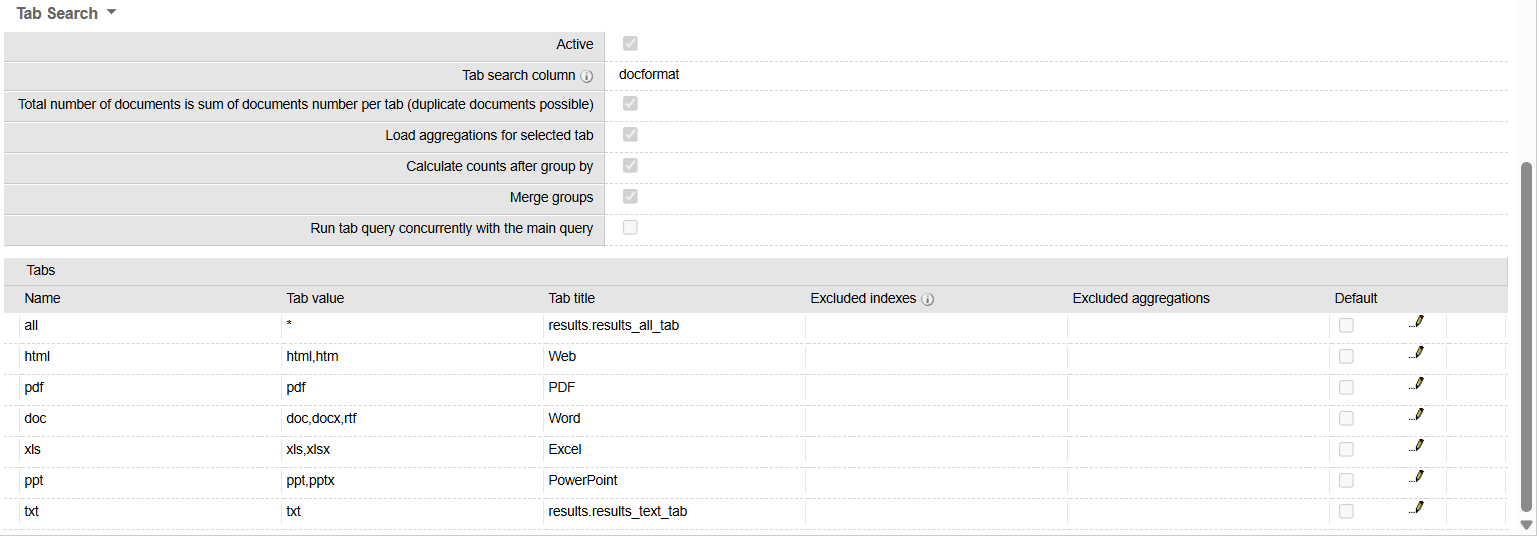
Tabs distribute results where each tab uses metadata from the same column in the structured part of the Sinequa index.
In the Sinequa administration interface, they are configured in the Mint Query Web Service.
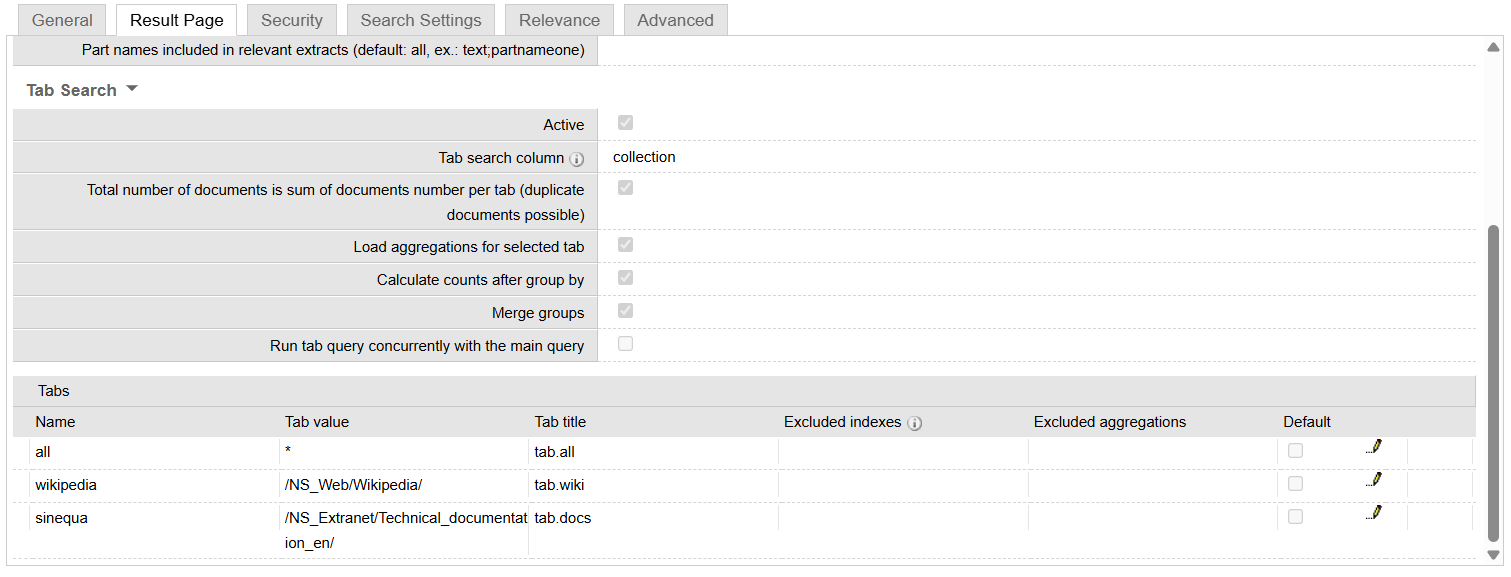
This exercise will use the Sinequa demo server, which has three tabs configured based on the available collections: All, Wikipedia, and Sinequa.
If you are using your own Sinequa instance, you will need to adjust this exercise to use the tabs you have defined in the Mint Query Web Service,
Internationalization
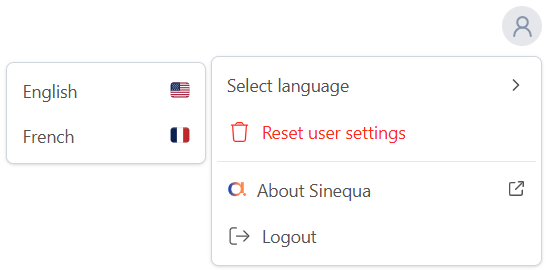
Out-of-the-box, Mint is configured for English and French. Users can select their language of choice. To do so, click the Person in the upper right corner, go to Select languge, and choose your preferred language.
The labels in the Mint application can be internationalized to display in different languages. While Mint initially includes English and French, other languages can be added as well, which will be explored later in this tutorial
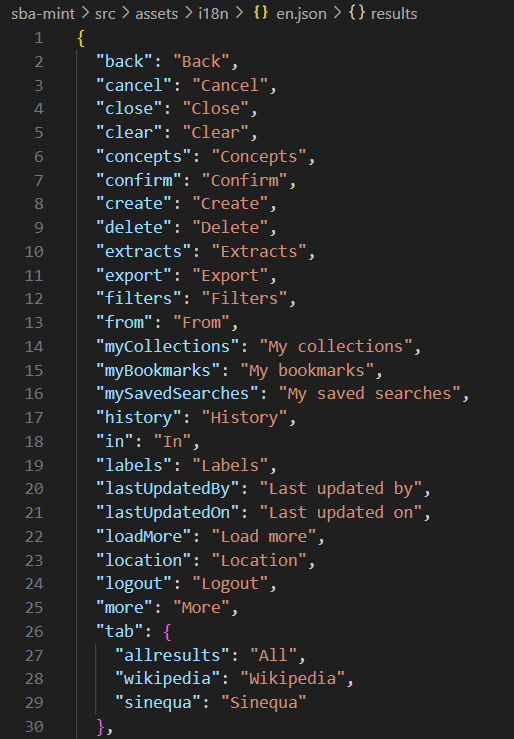
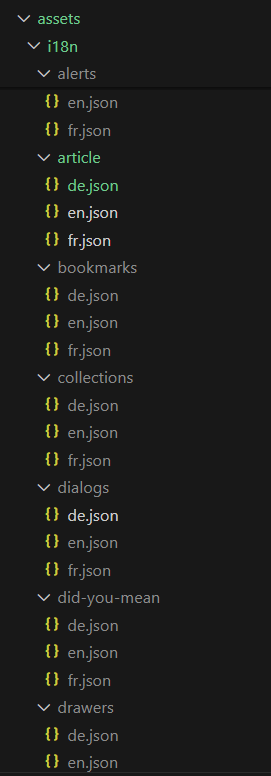
In src > assets > i18n, there are multiple folders that include en.json and fr.json files.
In these files are objects with key / value pairs (with the values being strings).
The objects and keys are the same in the en.json and fr.json files, but the string values are translated into the specific language.
These objects and keys are referenced in the web services and in the Mint application code instead of hard coding string values throughout the Mint application.
For example, in the Mint Query Web Service on the Sinequa demo server, the tabs are defined as:
Notice the Tab title field includes the following values:
tab.all
tab.docs
tab.wiki
These are the keys that need to be modified in the en.json and fr.json found in the root of the i18n folder so that the tab labels are internationalized and can be easily changed from one language to another by the end user.
Because they are not currently configured correctly in the Mint application, the object.key references are displayed as the tab labels instead of string values:

In the Vanilla Search sample application, you were required to use the syntax: msg#object.key. This is NOT required in Mint.
Updating the Language Dictionaries
-
In your Mint workspace, navigate to src > assets > i18n.
-
Open the en.json file found in the root of i18n.
Notice the list of objects and keys.
- Modify the following keys:
  "tab":{
  "all": "All Results",
  "wiki": "Wikipedia",
  "docs": "Sinequa"
  },
-
Open the fr.json file.
-
Modify the following keys:
  "tab":{
  "all": "Tous les Résultats",
  "wiki": "Wikipédia",
  "docs": "Sinequa"
  },
- Save your changes.
If you followed the Connecting to Sinequa tutorial, Mint should recompile automatically. If not, execute the npm run start command in the terminal.
- Go to your Mint application and search for technology.

You should now see string values for the tab labels.
Adding a New Language
In this section, you will add German as a third language.
You will only internationalize select labels in Mint. Feel free to translate the values for the additional keys into German as well.
-
In your Mint workspace, go to src > assets > i18n.
-
Create a new file named de.json.
You would then translate the string values into the appropriate language and those values in the new JSON file.
-
Copy the following, and paste it into the de.json file:
{"tab":{"all": "Alle Ergebnisse","wiki": "Wikipedia","docs": "Sinequa"}} -
Go to src > app, and open the app.config.ts file.
-
Scroll down to the
provideTransloco()method.
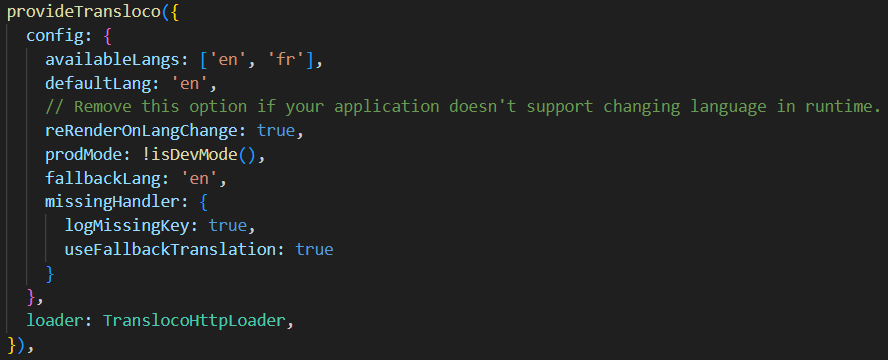
Transloco is an Angular i18n library that lets you translate content into different languages and switch between them easily in runtime. The provideTransloco method defines the information needed to translate the labels in Mint to different languages.
- In the
provideTransloco()method, find theavailableLangsproperty, and edit it as follows:
availableLangs: ['en', 'fr', 'de']
-
Go to src > app > components > user-menu and open the user-menu.html file.
-
Find the following code block:
 <MenuContent position="bottom-start" class="min-w-fit">
    <menu position="left-start" className="dropdown-content max-w-40">
      <menuitem>
        <span class="grow">{{ 'userMenu.selectLanguage' | transloco }}</span>
        <ChevronRight class="size-4" />
      </menuitem>

      <MenuContent position="left-start" class="max-w-40">
        <menuitem (click)="changeLanguage('en')" class="justify-between">
          <span>{{ 'userMenu.english' | transloco }}</span>
          <FlagEnglish class="size-4" />
        </menuitem>

        <menuitem (click)="changeLanguage('fr')" class="justify-between">
          <span>{{ 'userMenu.french' | transloco }}</span>
          <FlagFrench class="size-4" />
        </menuitem>
      </MenuContent>
    </menu>
This displays the Select language menu item as well as the language options that will be available for the end user.
- Below the menutitem that adds the French language, add the following code block:
<menuitem (click)="changeLanguage('de')" class="justify-between">
<span>{{ 'userMenu.german' | transloco }}</span>
</menuitem>
This action adds German to the Select language option in the user menu.
In the Select language menu, the German flag will not be displayed as it is beyond the scope of this tutorial.
If you wanted to include a German flag, you could use Font Awesome icons.
The English and French flag icons are configured as components found in node_modules > @sinequa > ui > components > icons.
-
Go to sba-mint > transloco.config.ts.
-
In the const config: TranslocoGlobalConfig, add 'de' to the langs array.
-
Go to src > assets > i18n > user-menu.
This folder contains two JSON files specific to the internationalization of the user menu.
- Open the en.json file and add the following key:
"german": "German",
- Open the fr.json file and add the following key:
"german": "Allemande",
- Create a new file in the user-menu folder name de.json and add the following:
	{
	  "aboutSinequa": "Über Sinequa",
	  "administration": "Verwaltung",
	  "contactAdmin": "Administrator kontaktieren",
	  "english": "Englisch",
	  "french": "Franzose",
	  "german": "Deutsch",
	  "overrideUser": "Benutzer überschreiben",
	  "resetUserSettings": "Benutzereinstellungen zurücksetzen",
	  "revertOverride": "Außerkraftsetzungsbenutzer zurücksetzen",
	  "selectLanguage": "Sprache auswählen",
	  "help": "Help"
	}
All keys in German were translated using an automatic translation tool. Please excuse any errors.
- For each folder in i18n, create a copy of the en.json file and rename the copy de.json.
Here you are simply creating copies of the en.json files and renaming them de.json to simplify this tutorial. Without German versions of these files, an error will occur in Mint, and the German language will not be available.
Feel free to translate the values for the additional keys into German as well.
- Save your changes.
If you followed the Connecting to Sinequa tutorial, Mint should recompile automatically. If not, run the npm run start command in the terminal.
-
Go to your Mint application and search for technology.
-
Click on the person icon in the top right to access the user menu and click Select language.
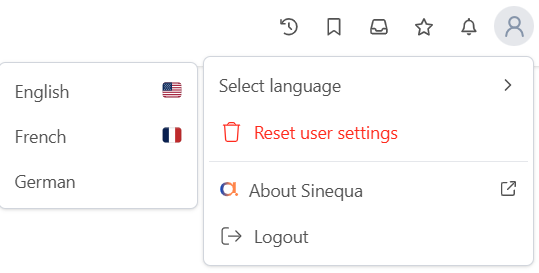
You should now see German as an option under Select language.
- Select German.

The tabs should (and a few other labels) will be displayed in German.
This tutorial only introduces the concept of internationalization. Additional keys would need to be translated into German for the other labels in Mint to be displayed appropriately.